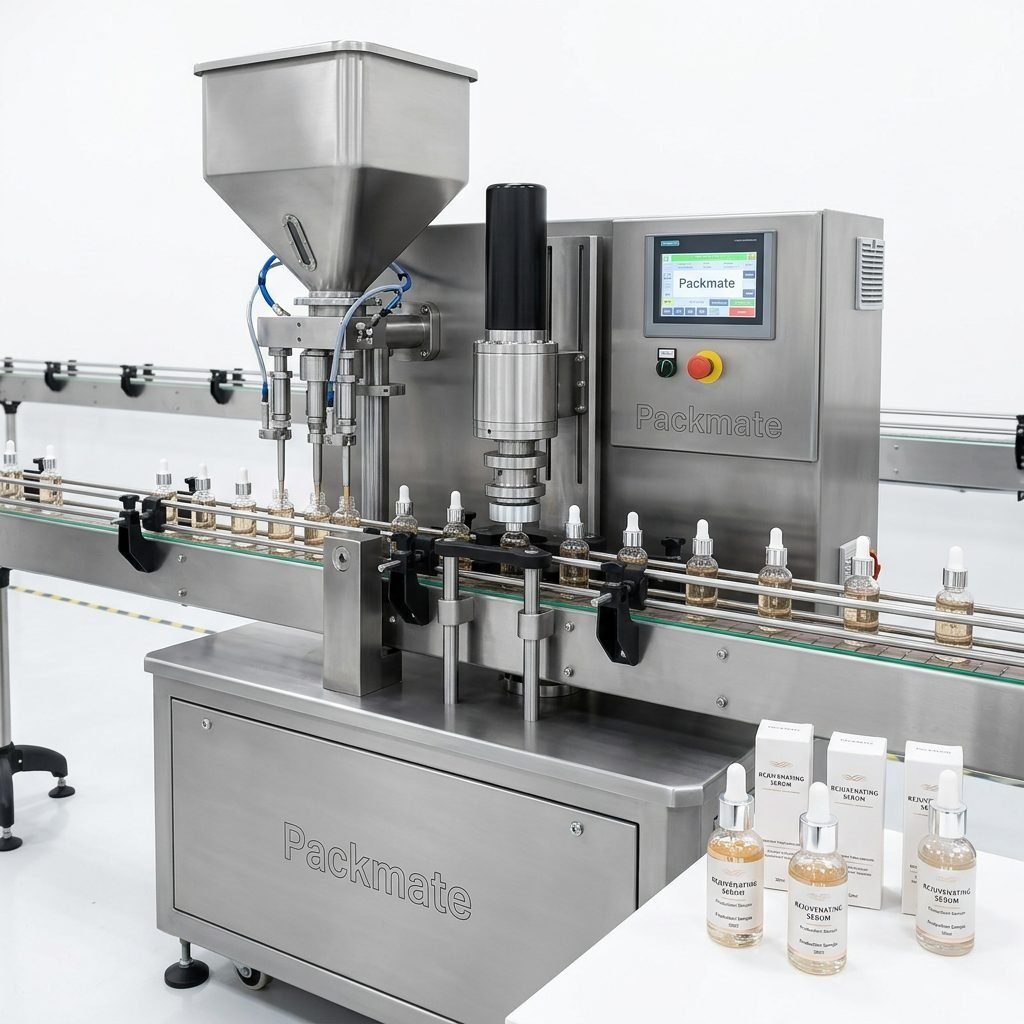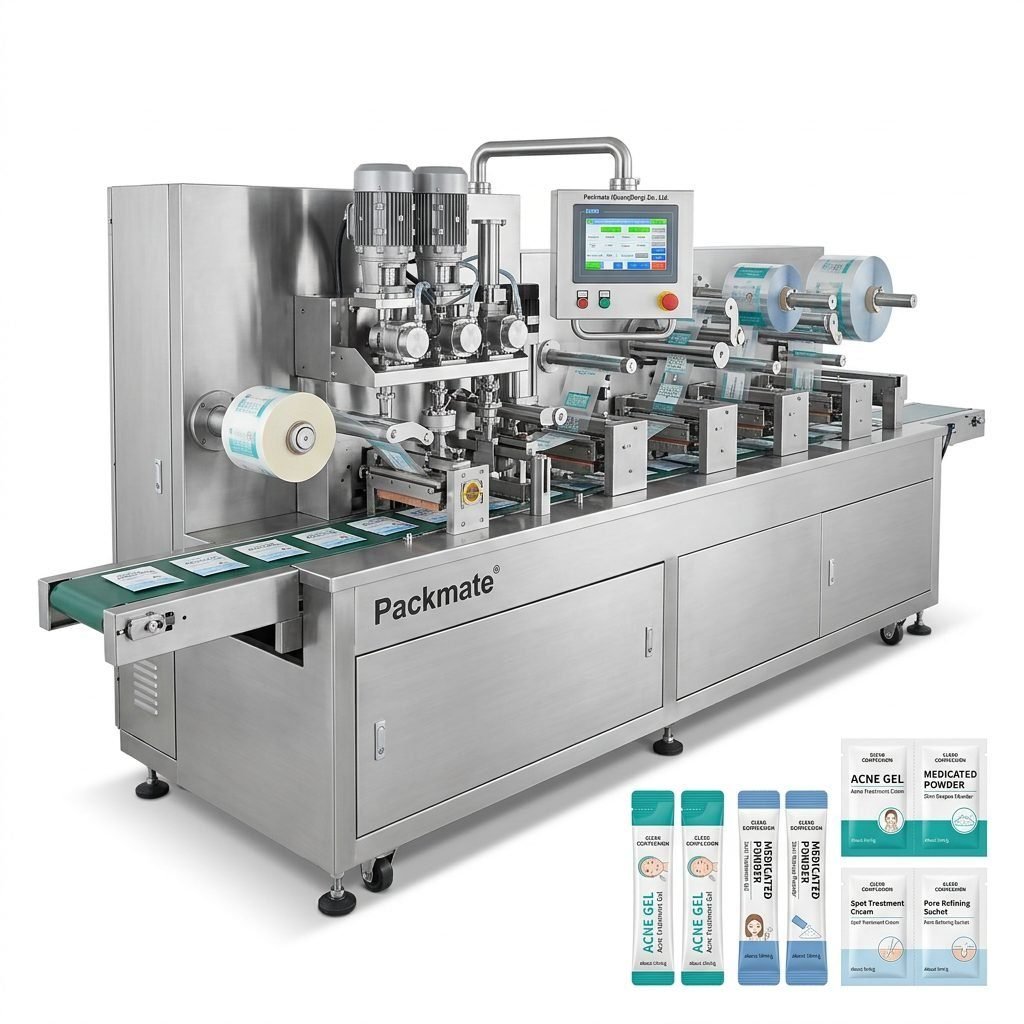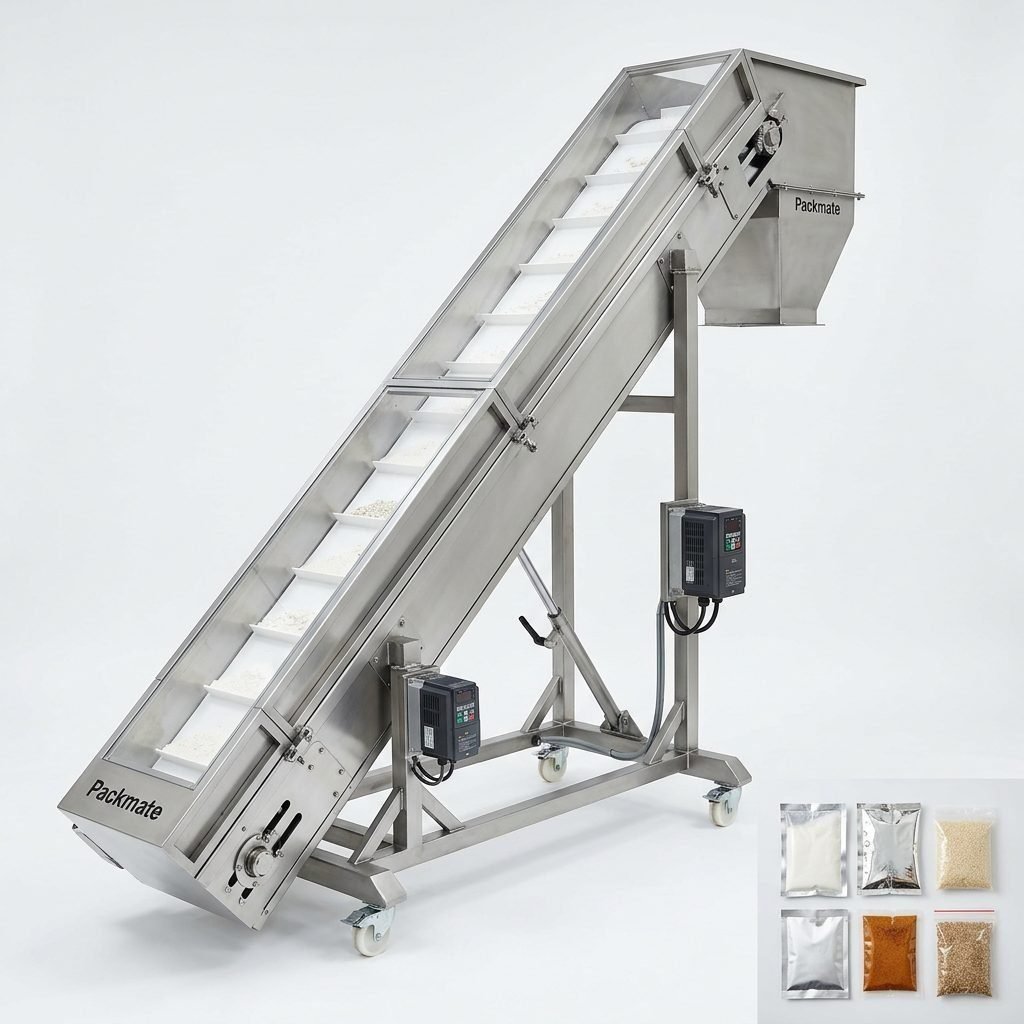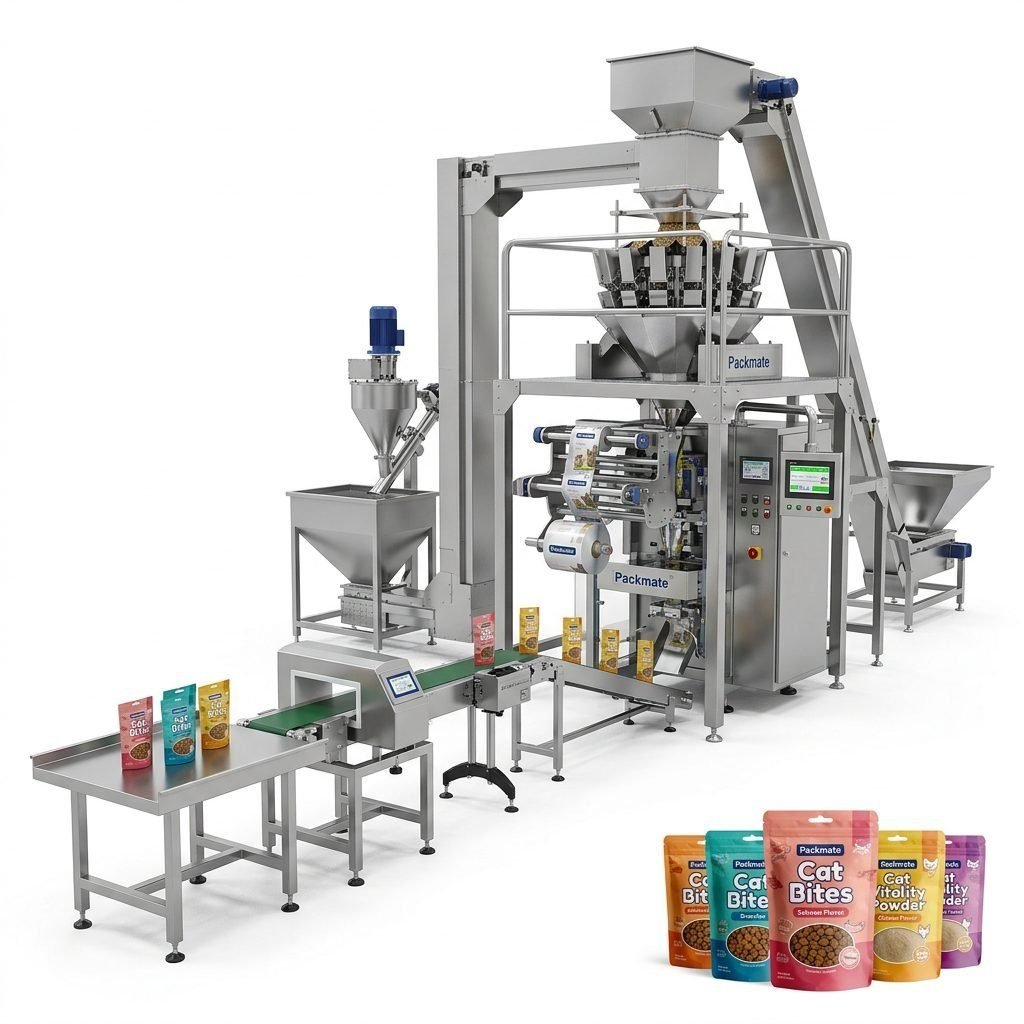
Installing a bakery packaging machine is a critical step that bridges the gap between a significant capital investment and the realization of its full potential in terms of productivity, efficiency, and product quality. An efficient installation process ensures your new equipment integrates seamlessly into your production line, minimizes costly downtime, and sets the stage for optimal long-term performance. This expert guide provides a comprehensive, step-by-step approach to installing your bakery packaging machine efficiently, drawing on decades of industry experience.
Pre-Installation Planning and Preparation
Success begins long before the machine arrives at your facility. Thorough pre-installation planning is the cornerstone of an efficient setup. This phase involves several key actions that will prevent delays and complications.
First, conduct a detailed site assessment. Verify that your facility meets all the requirements specified by the manufacturer. Critical factors include floor space dimensions, ceiling height, electrical supply (voltage, phase, and amperage), compressed air availability (pressure and flow rate), and any necessary utility connections. Ensure the floor is level and can support the machine’s weight, including any dynamic loads during operation.
Next, prepare the delivery and staging area. Clear a path from the loading dock to the installation site. Remove any obstacles and ensure doorways and aisles are wide enough. Have the necessary unloading equipment, such as forklifts or pallet jacks, ready and operational. It’s also prudent to schedule the delivery and installation during a planned production halt to avoid disrupting ongoing operations.
Finally, assemble your installation team. Designate a project leader and ensure all personnel involved—whether your in-house maintenance staff or the manufacturer’s technicians—are briefed on the plan, safety protocols, and their specific roles. Having all tools, manuals, and personal protective equipment (PPE) readily available will keep the process moving smoothly.
Uncrating and Initial Inspection
Upon delivery, carefully uncrate the machine following the manufacturer’s instructions. Use appropriate tools to avoid damaging the equipment or its packaging, which may be needed for future service or relocation. As components are revealed, conduct a thorough visual inspection against the packing list.
Check for any signs of shipping damage, such as dents, cracks, or loose parts. Document any discrepancies or damage immediately with photographs and notify the shipping company and the equipment supplier, such as Packmate Machinery, before proceeding. This step is crucial for warranty claims and ensuring you receive all parts necessary for a complete installation.
Step-by-Step Installation Procedure
With the site prepared and the machine inspected, you can begin the physical installation. Adhering to a logical sequence is vital for safety and accuracy.
Step 1: Positioning and Leveling
Move the machine to its permanent location using the recommended methods. Once in place, the single most important mechanical task is leveling. Use precision spirit levels on the machine’s main frame or baseplate as indicated in the manual. Adjust the machine’s leveling feet meticulously. A machine that is not perfectly level will suffer from misalignment, increased wear and tear, vibration, and inaccurate packaging operations. Take your time with this step.
Step 2: Utility Connections
Connect all utilities strictly according to the manufacturer’s specifications and local codes. This typically includes:
Electrical: Have a qualified electrician connect the power supply to the machine’s main disconnect. Ensure proper grounding to prevent electrical hazards and interference.
Pneumatic: Connect the compressed air line using the correct fittings. Install an air filter, regulator, and lubricator (FRL unit) if required, and set the pressure to the exact specification.
Other Connections: Connect any vacuum lines, water cooling lines, or network cables for PLC communication.
Step 3: Mechanical Assembly and Alignment
Assemble any sub-components that were shipped separately, such as feed hoppers, conveyor in-feeds, or outfeed systems. Refer constantly to the assembly diagrams. A critical task here is aligning any connected conveyors with the machine’s infeed and discharge points. Misalignment will cause product jams and inconsistent package placement. Ensure all bolts and fasteners are tightened to the specified torque values.
Step 4: Control System Setup
Power on the control system. This involves initializing the Human-Machine Interface (HMI) or touchscreen panel. Set basic parameters such as language, units of measurement, and date/time. You may also load any pre-configured recipes if your machine has this capability for different bakery products like bread, pastries, or cookies. Familiarize yourself with the main control screens before attempting to run the machine.
Commissioning, Testing, and Operator Training
Commissioning is the process of bringing the machine to life and verifying its operation. Start with a dry run without product. Jog the machine through its cycles using the manual controls. Listen for unusual noises and watch for smooth, coordinated movement of all actuators, cams, and sealing jaws.
Next, proceed to a material test with actual packaging film and a dummy product (e.g., empty boxes or test weights). Adjust the film tracking, tension, and sealing parameters (temperature, pressure, time) to achieve a consistent, hermetic seal. For powder or granular bakery mixes, test the filling system for accuracy. Finally, run a prolonged production test at the target speed to ensure stability and repeatability.
Concurrently, conduct comprehensive operator and maintenance training. Ensure your staff understands daily startup/shutdown procedures, routine cleaning, simple troubleshooting (like film jams or seal quality issues), and basic safety interlocks. Effective training reduces human error and empowers your team to maintain peak efficiency. Companies like Packmate Machinery often provide detailed training as part of their service, ensuring you get the most from your packaging equipment.
Final Documentation and Handover
Once testing is complete and the machine is performing to specification, complete the final documentation. This includes signing off on the installation and commissioning report, updating equipment logs, and securely filing all manuals, electrical schematics, and PLC programs. Ensure you have contact information for technical support. The machine is now officially handed over for full production use.
Common Installation Challenges and Solutions
Even with perfect planning, challenges can arise. Being prepared for common issues saves valuable time.
Challenge 1: Utility Incompatibility. The factory’s air pressure is too low or electrical phase is wrong.
Solution: This underscores the importance of the pre-installation site check. Resolving this may require installing a booster compressor or a phase converter, which must be planned for in advance.
Challenge 2: Persistent Machine Vibration. This often points back to improper leveling or loose mounting bolts.
Solution: Revisit the leveling process meticulously. Check that all structural bolts and motor mounts are tightened to the correct torque specification.
Challenge 3: Inconsistent Seal Quality. Seals are weak, uneven, or burn through the packaging film.
Solution: This is usually a parameter adjustment issue. Verify and recalibrate the sealing temperature, pressure, and dwell time. Ensure the sealing jaws are clean and parallel. Using the correct film grade, often specified by machine manufacturers like those producing sachet and stick pack machines, is also critical.
Frequently Asked Questions (FAQs)
How long does a typical bakery packaging machine installation take?
The timeline varies significantly based on machine complexity, from a simple vertical form-fill-seal unit to a complete integrated filling and packaging line. A standard machine with proper pre-planning can often be installed and commissioned within 2-5 working days. More complex systems may require 1-2 weeks.
Can we install the machine ourselves, or do we need the manufacturer’s help?
While technically skilled in-house teams can install simpler models by strictly following the manual, it is highly recommended to utilize the manufacturer’s installation service for any sophisticated equipment. Their technicians have specific expertise, ensure warranty compliance, can troubleshoot unforeseen issues quickly, and provide certified operator training, leading to a faster and more reliable startup.
What are the most common mistakes during installation?
The top three mistakes are: 1) Neglecting the site preparation and utility verification, leading to last-minute delays; 2) Rushing the leveling process, which causes chronic performance issues; and 3) Inadequate operator training, resulting in poor machine handling, more downtime, and reduced equipment lifespan.
What spare parts should we have on hand after installation?
It is advisable to keep a basic kit of consumables and critical spare parts. This typically includes sealing jaw inserts (nichrome or Teflon strips), film guide rollers, fuse sets, photoelectric sensors, and a supply of the specific grease/oil recommended for the machine’s lubrication points. Your manufacturer can provide a recommended list.
Who should we contact for post-installation support?
Your primary contact should always be the machine manufacturer or their authorized local agent. They have the deepest knowledge of your specific equipment model. Keep their contact information, your machine’s serial number, and purchase documents easily accessible. Many reputable companies, through their dedicated service departments, offer remote and on-site support plans to ensure your packaging line’s continued efficiency.