Successfully installing your new packaging equipment is the critical first step toward achieving peak production efficiency. This comprehensive guide provides a detailed, step-by-step approach to setup, along with essential tips to ensure a smooth installation process and optimal machine performance from day one. Whether you are deploying a single sachet packaging machine or a complete automated line, proper installation is non-negotiable for safety, reliability, and output quality.
Pre-Installation Planning & Site Preparation
Before the equipment arrives, thorough preparation is key. A well-planned site prevents costly delays and installation errors.
Key Site Requirements: Ensure your facility meets all necessary specifications. This includes verifying electrical supply (voltage, phase, and amperage), compressed air availability at the correct pressure and purity, and adequate floor space with a level, stable foundation. Consult the machine manual for exact dimensions and utility connection points. Proper lighting and ventilation in the installation area are also crucial for operator safety and maintenance access.
Allocate space not just for the machine itself, but also for material infeed, finished product discharge, and safe operator walkways. Clear the path from the delivery point to the installation site of any obstructions.
Uncrating & Initial Inspection
Upon delivery, carefully uncrate the equipment using proper tools to avoid damage. Conduct a thorough visual inspection against the packing list. Check for any visible shipping damage, missing components, or loose parts. Immediately document and report any discrepancies to the supplier or shipping company before proceeding. This step is vital for warranty claims and ensuring you have all necessary parts.
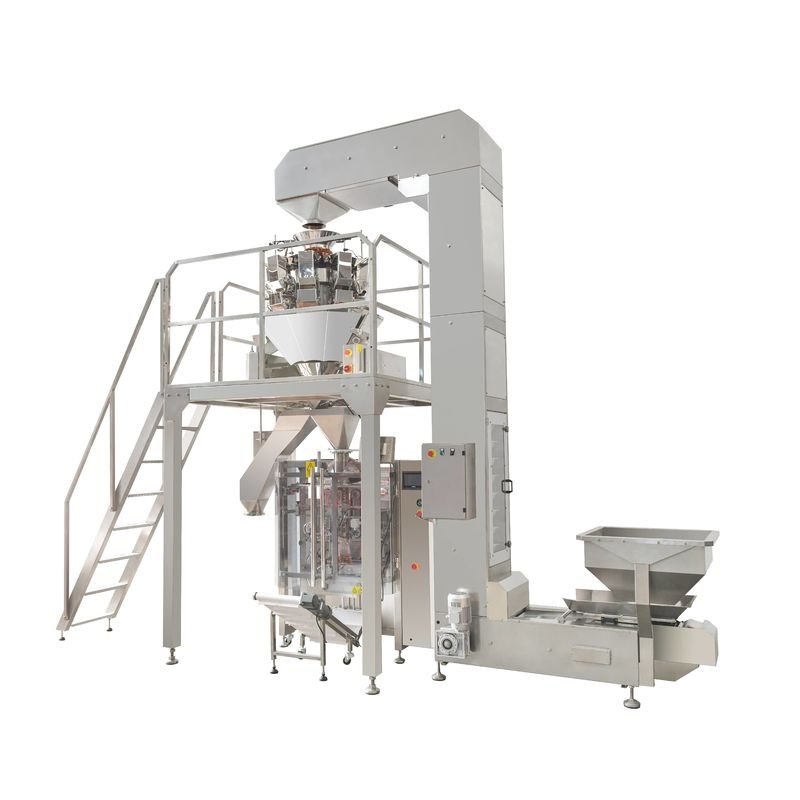
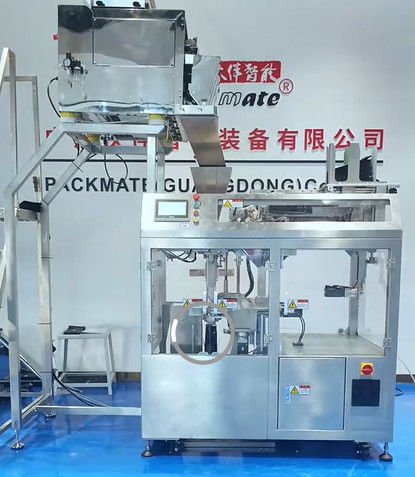
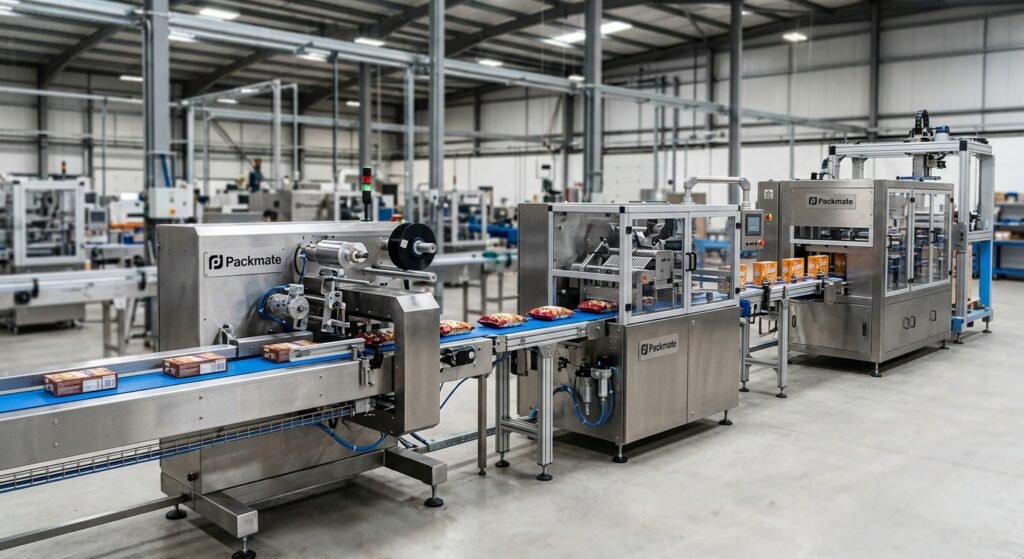
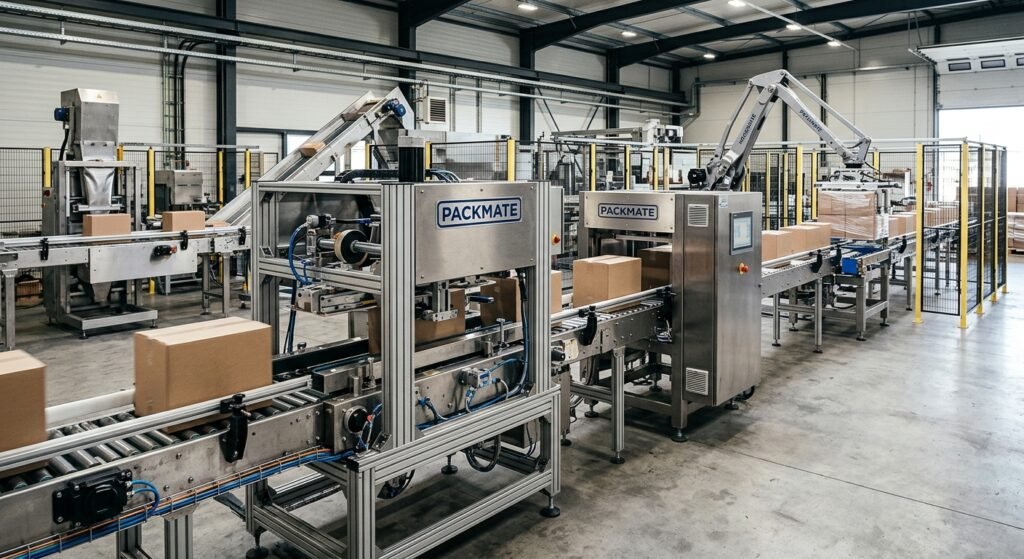
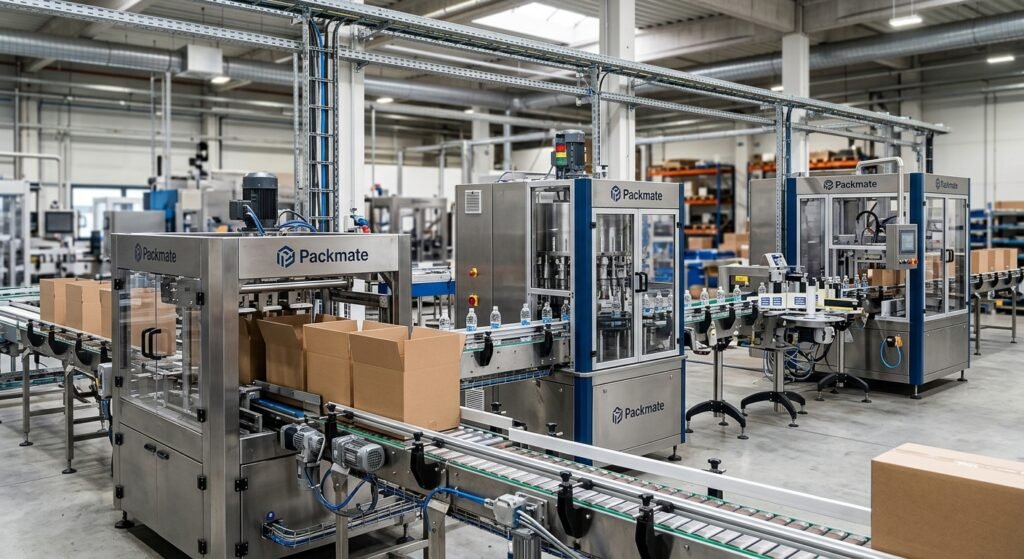
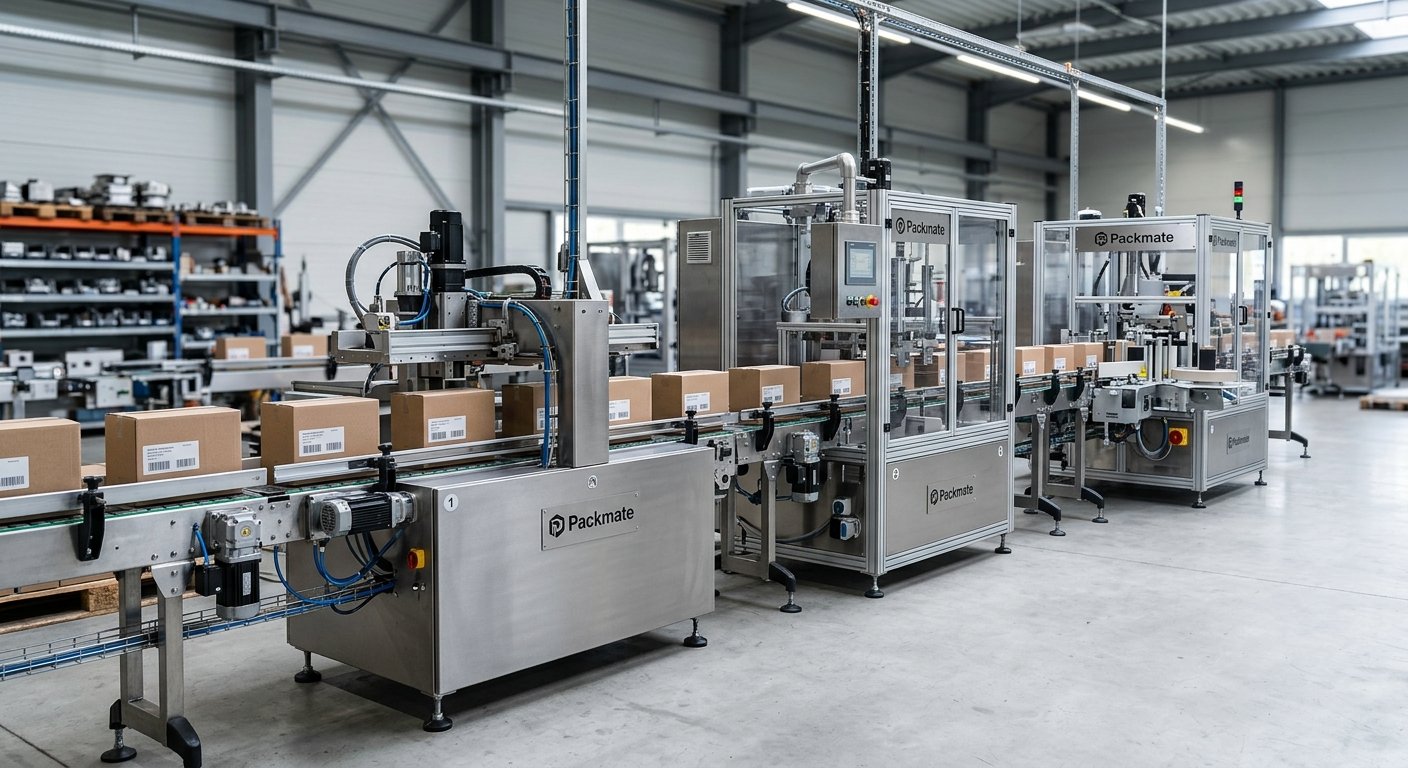
Step-by-Step Installation Procedure
Follow these steps methodically. If available, having a technical representative from your supplier, such as Packmate Machinery, on-site can be invaluable.
Step 1: Positioning and Leveling
Move the machine to its permanent location using appropriate lifting equipment (e.g., forklift with padded forks). Never drag the machine. Use a precision spirit level on the machine’s main frame or baseplate. Adjust the machine’s leveling feet until it is perfectly level in all directions. This is critical: An unlevel machine can cause misalignment, increased wear, and inaccurate filling or sealing.
Step 2: Utility Connections
Connect all utilities as per the engineering diagrams. This typically includes:
Electrical: Connect to the designated power source using the correct cable gauge. Ensure all connections are tight and secure. Install and set any required circuit breakers or fuses.
Compressed Air: Connect the airline, ensuring it is clean and dry. Install an inline filter-regulator-lubricator (FRL) unit if specified to protect pneumatic components.
Other Services: Connect any required water cooling lines, vacuum lines, or inert gas supplies for specific applications.
⚠️ Safety First: Always lock out and tag out the main power supply before making any electrical connections. Confirm all connections with a qualified electrician.
Step 3: Mechanical Assembly & Component Installation
Assemble any sub-components shipped separately, such as feed hoppers, conveyor extensions, or discharge chutes. Install tooling specific to your package format (e.g., forming tubes, sealing jaws, filling nozzles). Torque all bolts to the manufacturer’s specifications. Lubricate all moving parts as indicated in the manual using the recommended lubricants.
Step 4: Control System Setup
Power on the control system (PLC, HMI). Navigate through the human-machine interface to set basic parameters like language, units of measurement, and date/time. Input your specific product and packaging parameters. For complex packaging lines, this may involve synchronizing multiple machines.
Commissioning & Test Run
With installation complete, commissioning begins. This is the process of verifying and adjusting the machine to run your actual product.
Dry Run: Run the machine without product to check for smooth mechanical operation, proper sensor function, and correct sequencing of all motions. Listen for unusual noises.
First Product Run: Introduce your actual packaging material and product. Start at a slow speed. Carefully adjust filling systems, sealing temperature, pressure, and timing to achieve the desired package integrity and appearance. Make incremental adjustments and allow the machine to stabilize between changes.
💡 Pro Tip: Keep detailed records of all optimal settings for your different products. This drastically reduces changeover time in the future.
Operator Training & Documentation Handover
Effective training is part of a successful installation. Ensure operators are trained on:
• Basic machine operation and control interface navigation.
• Routine cleaning and maintenance procedures.
• Common troubleshooting steps for minor faults.
• Safety protocols and emergency stop procedures.
Organize all received documentation—manuals, electrical schematics, spare parts lists, and certificates—in an easily accessible location. Explore the service and support options available from your manufacturer for ongoing assistance.
Essential Tips for a Successful Installation
Involve Your Team Early: Include maintenance technicians and lead operators in the planning and installation process. Their hands-on knowledge is invaluable.
Schedule Realistically: Allocate sufficient time for each installation step, including buffer time for unforeseen challenges. Rushing leads to mistakes.
Use Genuine Spare Parts: Always use OEM-recommended spare parts and consumables, especially for critical components like sealing jaws or pump seals, to guarantee performance and maintain warranties.
Establish a Preventive Maintenance (PM) Schedule Immediately: Based on the manual, create a calendar for daily, weekly, and monthly PM tasks. Adherence to PM is the best way to maximize uptime and machine lifespan.
Frequently Asked Questions (FAQs)
Q1: How long does a typical packaging machine installation take?
A: Installation time varies greatly by machine complexity. A standalone vertical form-fill-seal machine may take 1-2 days, while a fully integrated weighing and packaging system could require a week or more for setup, calibration, and commissioning.
Q2: What are the most common mistakes during installation?
A: The most frequent errors include failing to level the machine properly, incorrect utility connections (e.g., wrong air pressure), neglecting to remove shipping locks or braces before operation, and skipping the dry run phase which can lead to immediate mechanical damage.
Q3: Can we install the machine ourselves, or do we need the manufacturer?
A: While technically skilled in-house teams can install simpler machines by strictly following the manual, it is highly recommended to have the manufacturer’s technician supervise or perform the installation for complex equipment. This ensures it’s done correctly, validates the warranty, and provides crucial on-the-spot training.
Q4: What should we do if the machine doesn’t seal properly after installation?
A: First, verify the sealing temperature, pressure, and dwell time settings against the manual’s recommendations for your specific film material. Ensure the sealing jaws are clean, parallel, and properly aligned. Check that the film is threading correctly. If problems persist, consult the troubleshooting guide or contact technical support.
Q5: Where can I find ongoing support after installation?
A> Reputable manufacturers like Packmate offer continued support through phone/email helpdesks, online FAQ portals, remote diagnostics, and on-site service visits. Ensure you have these contact details saved and understand your service agreement terms.